
There’s something mesmerizing about resin art — the way light dances across its glossy surface, the depth of its colors, the smooth perfection of a handmade pour. Resin crafting combines creativity, precision, and design to produce pieces that are as durable as they are beautiful.
From modern wall art and jewelry to sleek home decor and custom trays, Resin & Molding Supplies have become a go-to for makers who love to blend art and innovation. Whether you’re a beginner or a creative pro, working with resin opens a world of color, texture, and possibility.
In this guide, we’ll explore how to get started, what tools you’ll need, and the best techniques to create stunning resin art that reflects your unique style.
1. Why Resin Art Is So Captivating
A Perfect Blend of Art and Science
Resin crafting is all about chemistry and creativity. You mix two components — resin and hardener — to trigger a reaction that transforms liquid into a crystal-clear solid. That transformation process feels almost magical, especially as you watch swirls of pigment settle into fluid patterns.
Endless Possibilities
With Resin & Molding Supplies, you can create nearly anything: jewelry, trays, coasters, tabletops, bookmarks, and wall sculptures. Add metallic flakes, flowers, or pigments for extra depth and style.
Modern Aesthetic Appeal
Resin’s glossy finish pairs perfectly with contemporary and minimalist decor. It elevates DIY Home Decor projects into statement pieces that look professionally made.
2. Resin Crafting Essentials
Before you start pouring, you’ll need the right Crafting Tools & Supplies to ensure smooth, safe, and stunning results.
Here’s your beginner checklist:
- Epoxy Resin & Hardener: Choose a high-quality, clear formula.
- Mixing Cups & Sticks: Essential for precise blending.
- Molds: Silicone molds for coasters, trays, jewelry, or abstract art shapes.
- Colorants: Alcohol inks, mica powders, or resin-safe dyes for color effects.
- Protective Gear: Gloves, apron, and mask for safe handling.
- Organizing & Storage Solutions: Keep your pigments, glitters, and tools neatly labeled and dust-free.
Pro Tip: Always mix resin slowly to avoid bubbles — patience is the secret to that flawless glassy surface.
3. Step-by-Step Guide to Making Resin Art
Step 1: Prep Your Workspace
Lay down a protective sheet and make sure your area is level — resin finds every slope. Keep your Crafting Essentials organized nearby to streamline your process.
Step 2: Mix Your Resin
Follow the instructions on your resin kit, usually a 1:1 ratio. Mix for several minutes until the texture is completely uniform.
Step 3: Add Color and Texture
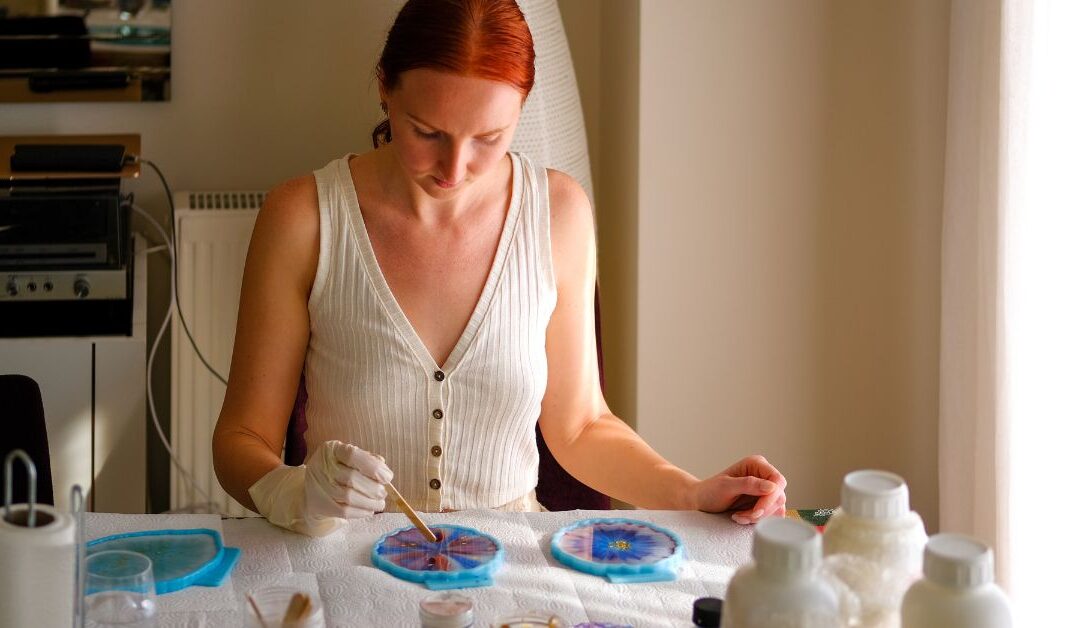
Blend in your chosen pigments or embed materials like dried flowers, gold flakes, or even fabric pieces for mixed-media depth.
Step 4: Pour and Shape
Slowly pour the resin into your mold or over your surface. Use a heat gun or torch to remove surface bubbles.
Step 5: Cure and Finish
Allow your piece to cure in a dust-free environment for 24–72 hours. Once hardened, sand or polish edges for a professional look.
4. Project Ideas to Try
Resin Coasters with Embedded Florals
Preserve nature in art by embedding dried flowers in transparent resin molds. The result is timeless and elegant — perfect for gifting or DIY Home Decor.
Abstract Resin Wall Art
Use Painting & Drawing Supplies to layer resin tints and metallic pigments across a wood panel. The glossy finish turns a simple surface into a modern centerpiece.
Resin Jewelry
Combine Jewelry & Accessories Making techniques with resin to create pendants, earrings, or statement rings. Add mica shimmer or natural stones for dimension.
Resin & Wood Fusion
Pair Woodworking & Carving with resin for one-of-a-kind trays or tabletops. The organic-meets-modern aesthetic fits perfectly with today’s sustainable interior trends.
5. Mastering Resin Finishing Techniques
To achieve that flawless, high-gloss finish:
- Polish the Surface: Once fully cured, use fine-grit sandpaper followed by resin polish.
- Protect from Dust: Cover your curing project to prevent airborne particles.
- Add Layers: Build up multiple thin resin pours for depth and clarity.
- Personalize: Use Calligraphy & Lettering for names, quotes, or monograms before sealing your final coat.
With practice, your finishes will look just as sleek as professional studio pieces.
6. Safety and Care Tips
Resin crafting is incredibly rewarding — but it’s important to prioritize safety.
- Work in a well-ventilated space.
- Wear gloves and a respirator mask.
- Avoid direct skin contact.
- Dispose of resin waste responsibly.
Once cured, resin is non-toxic and long-lasting, making it perfect for decor and gifts.
Resin art is where creativity meets craftsmanship — glossy, bold, and endlessly customizable. With just a few Resin & Molding Supplies, Crafting Essentials, and a little imagination, you can turn simple materials into luminous pieces that brighten your home and elevate your style.
Whether you’re crafting coasters, jewelry, or statement wall art, each pour becomes a reflection of your artistry and patience.
So clear a workspace, gather your Crafting Tools & Supplies, and let the resin flow. The beauty of your next creation might just surprise you.
Inspired to start? Join our newsletter for step-by-step tutorials, resin art techniques, and creative project ideas — and share this post with your fellow makers who love the magic of glossy design.