
If you’ve ever paused mid-project to hunt for a missing brush, a lost bead, or a roll of tape that somehow vanished under fabric scraps — you’re not alone. Every crafter knows that creativity can get messy. But here’s the good news: your workspace doesn’t have to be chaotic to be inspiring.
A well-organized craft area can actually enhance creativity. It gives you room to think, room to move, and room to make magic. With a few smart Organizing & Storage Solutions and the right Crafting Essentials, you can turn clutter into clarity — and chaos into creativity.
Let’s explore how to organize your craft space in a way that feels fresh, motivating, and perfectly you.
1. Why Organization Matters for Creative Flow
Less Searching, More Crafting
When your supplies are easy to find, your creativity can flourish uninterrupted. No more wasting time digging for scissors or that one specific color of yarn.
A Space That Inspires
Your environment influences your energy. A tidy, well-arranged space invites you to sit down and start crafting — not stress about the mess.
Protecting Your Supplies
Proper storage ensures that paints stay fresh, Fabric & Yarn remain tangle-free, and Jewelry & Accessories Making materials don’t tarnish or get lost. Organization isn’t just neat — it’s practical.
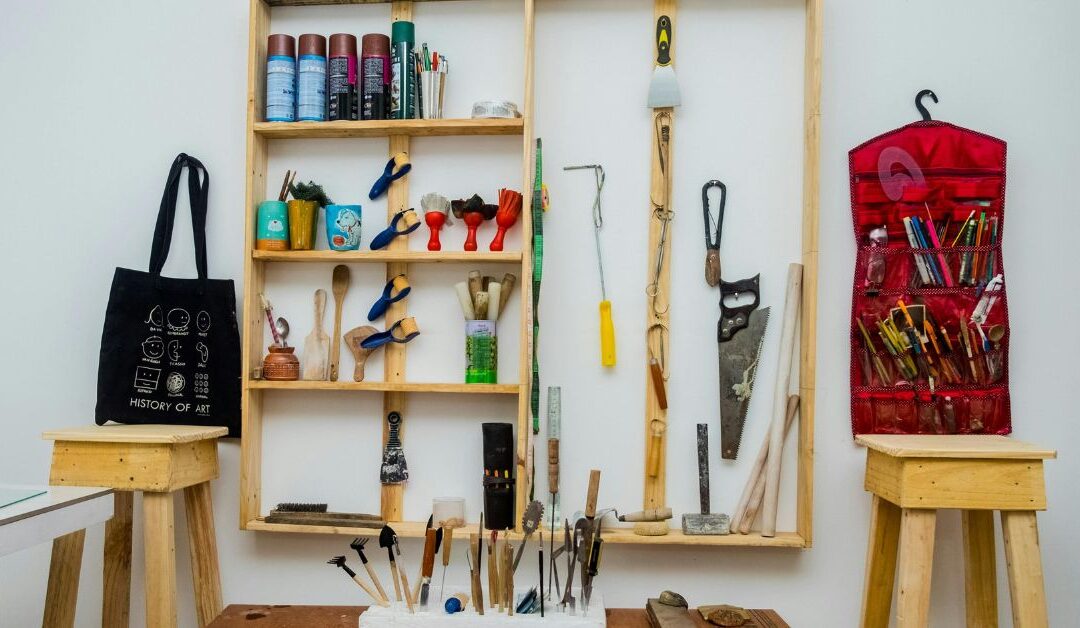
2. Smart Storage Ideas for Every Craft Type
Not all crafters work the same way, so your organization should match your style and medium. Here’s how to store and display your favorite Crafting Tools & Supplies by category.
For Fabric & Yarn Lovers
- Use clear plastic bins or labeled drawers to separate by color or texture.
- Store yarn in open baskets or wall-mounted cubbies to double as decor.
- Keep fabric rolls upright in tall bins for easy access.
Pro Tip: Add lavender sachets to prevent moth damage while keeping your space smelling fresh.
For Paper Crafts & Scrapbooking Enthusiasts
- Store patterned papers flat in clear envelopes or file systems.
- Use magazine holders for cardstock or specialty sheets.
- Dedicate a drawer to Calligraphy & Lettering tools like pens, nibs, and inks.
Bonus: Create a “project box” for works-in-progress so you can easily pick up where you left off.
For Jewelry & Accessories Makers
- Use divided bead containers and small glass jars for easy sorting.
- Hang tools like pliers on a pegboard for quick access.
- Label your Crafting Essentials — wire, clasps, findings — so you never overbuy or misplace them.
Style Tip: Display your finished jewelry pieces on stands or trays as part of your studio decor.
For Painters and DIY Decorators
- Keep Painting & Drawing Supplies in tiered carts or wall racks.
- Use mason jars for brushes and small containers for palette knives or sponges.
- Store DIY Home Decor materials — like stencils or small frames — in upright magazine-style holders.
Product Suggestion: Try using stackable containers or rolling carts from BeadsCrafts.com to create a flexible setup that grows with your creativity.
For Specialty and Seasonal Crafters
- Keep Candle & Soap Making molds, dyes, and oils together in sealed bins to prevent spills.
- Organize Clay & Pottery Supplies by function (molding, finishing, glazing).
- Dedicate a shelf or tote for Seasonal & Holiday Crafts, so you can rotate decor by season without repurchasing items.
Pro Tip: Label bins clearly — and include photos of contents for fast visual recognition.
3. Creative DIY Storage Solutions You Can Make Yourself
Who says an organization can’t be creative? With a bit of imagination, your storage can become part of your decor.
Repurpose Everyday Items
- Use mason jars for buttons, beads, and ribbons.
- Repaint an old spice rack for paint bottles or small glitter.
- Turn a pegboard into a custom crafting command center.
Build It Yourself
If you love Woodworking & Carving, make your own tool holders or floating shelves. Or use Resin & Molding Supplies to design custom trays for jewelry or embellishments.
Personalize Your Setup
Add hand-lettered labels using Calligraphy & Lettering supplies — a stylish touch that makes your space feel curated and professional.
4. How to Keep the System Working
Creating an organized workspace is one thing; maintaining it is another. Try these simple habits to keep your craft zone clutter-free long term:
- Clean as You Create: Put items back between project stages.
- Declutter Monthly: Donate or repurpose unused supplies.
- Reassess Seasonally: Rotate Seasonal & Holiday Crafts to free up space.
- Label Everything: It saves you hours of searching.
A good system should feel flexible, not rigid — it should adapt to your projects, not the other way around.
5. The Emotional Benefit of a Well-Organized Space
Beyond practicality, there’s emotional peace in order. A clean craft area can spark creativity, reduce overwhelm, and remind you why you love making things in the first place.
Organization gives your creativity boundaries — not limitations — so your imagination can thrive freely inside them.
A clutter-free craft space isn’t about perfection — it’s about creating a space that serves you. With a few thoughtful Organizing & Storage Solutions, you can make room for what matters most: the joy of crafting.
Whether you’re working with Crafting Essentials, Painting & Drawing Supplies, or Fabric & Yarn, an organized studio sets the tone for inspired creativity and calm productivity.
So, take a deep breath, clear your table, and start fresh. Your most creative ideas are waiting just beneath the clutter.
Loved these tips? Join our newsletter for more organizing hacks, creative project ideas, and exclusive DIY inspiration — and share this post with your fellow makers who could use a little crafting order in their lives.